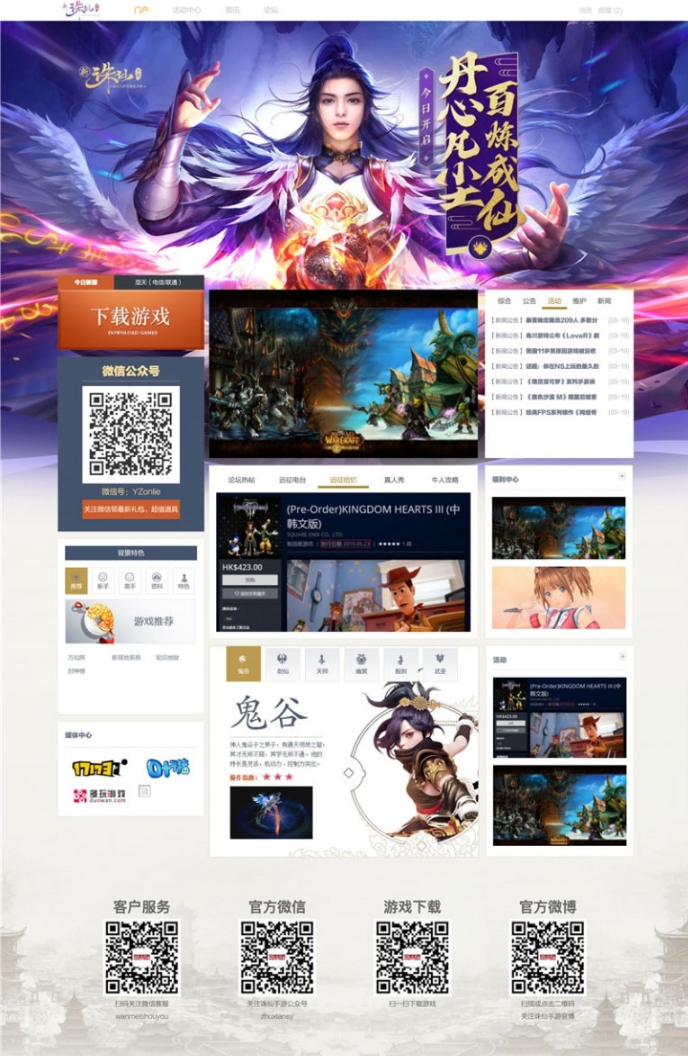
Template Installation Guide:
From the backend of your website, go to the Application Center to find the template you want to install. Click Install, and the page will jump to the installation interface.
After the installation is successful, go to the background, select Style Management, and set the newly installed template to the default style.
In the background tool, click Update Cache. Then click "Site Home" in the upper right corner, and you will see the newly installed template interface.
You can download diy files in the data download column. Please note that diy files cannot be used independently and can only be imported into the current template for use.
For front-end diy for portal pages, please enter advanced mode and import the portal_index.xml file.
To create an article list page, please create a new channel in the background portal, select list_yz.htm as the article list page template, and then import the portal-list.xml file in the foreground diy. For recommendation pages, select the list_gd.htm template, and then import the portal_list_tj.xml file in the foreground diy.
To configure the article content page, please select the template inherited from your superior in the background, and then import the portal-view.xml file in the foreground diy.
If you need to modify static diy, please import the corresponding diy document directly. Enter advanced mode and edit the data module in the diy interface.
To change links in static diy, replace your link directly to replace the "#" character. You can also replace text that needs to be changed in static diy.


