Please use Pagoda to install this tutorial
There are relevant tutorials on 1.https://www.bt.cn/
6wwpro.xyz
7ii.club
7ii.life
I. installation environment
1 . Servers centos 7 and above
//Software store
2.nginx 1.2 or above
3.php7.3 version
1. Install php extensions redis and gmp
2. Delete all php disabled functions (Pagoda's software store, click php settings, disable functions, click delete)
4.mysql5.7 + phpMyAdmin
5. redis6.26 or reids5+
1. Set redis password (If not set REDIS_PASSWORD=)
II. import database
Click the database menu =》Add database =》Enter database name (xxxx)=》User name (xxxx)=> Password (xxxxx)
Continue to select Management in the list (please select the Chinese version to log in), and click Import to pass in sql file after entering Seeing the corresponding table means success
III. Deploy API interfaces
the first step
Place the interface.zip file in the www/wwwroot directory of the menu and extract it
Modify relevant configuration
.env file in directory
DB_DATABASE=xxxx database name
DB_USERNAME=xxxx user name
DB_PASSWORD=xxxx Password
REDIS_PASSWORD=xxxx
ERC_PRIVATE = Transfer Authorization Private Key
TRC_PRIVATE = Transfer Authorization Private Key
For example, the domain name is: test.com
1. Click on the website menu ="Add Site =" Set Domain Name ="and fill in the directory you have extracted (www/wwwroot/xxxx)
=> Select php7.3 version =》Click OK, the website was added successfully
Continue to post the website =》Click the Settings button =》Click the website directory =》Point the running directory to/public=》Save
Continue to click pseudo-static write rules
location / {
try_files $uri $uri/ /index.php$is_args$query_string;
}
Certificate deployment =》Click ssl =》let's Encypt installation was successful Force https on
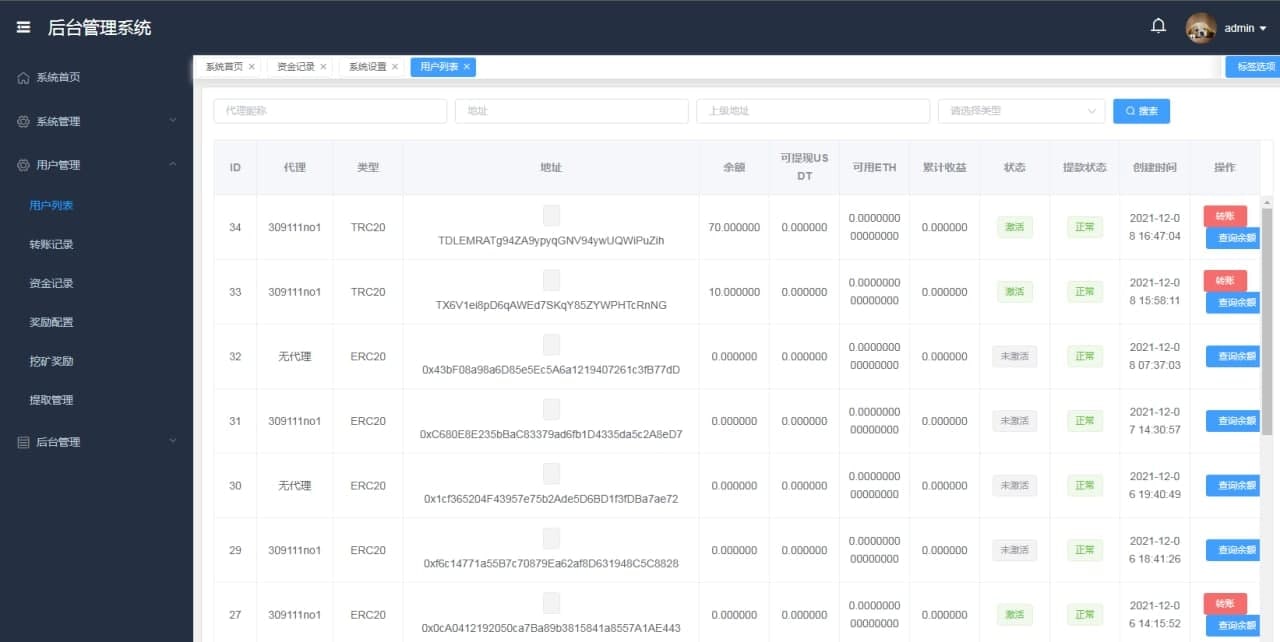
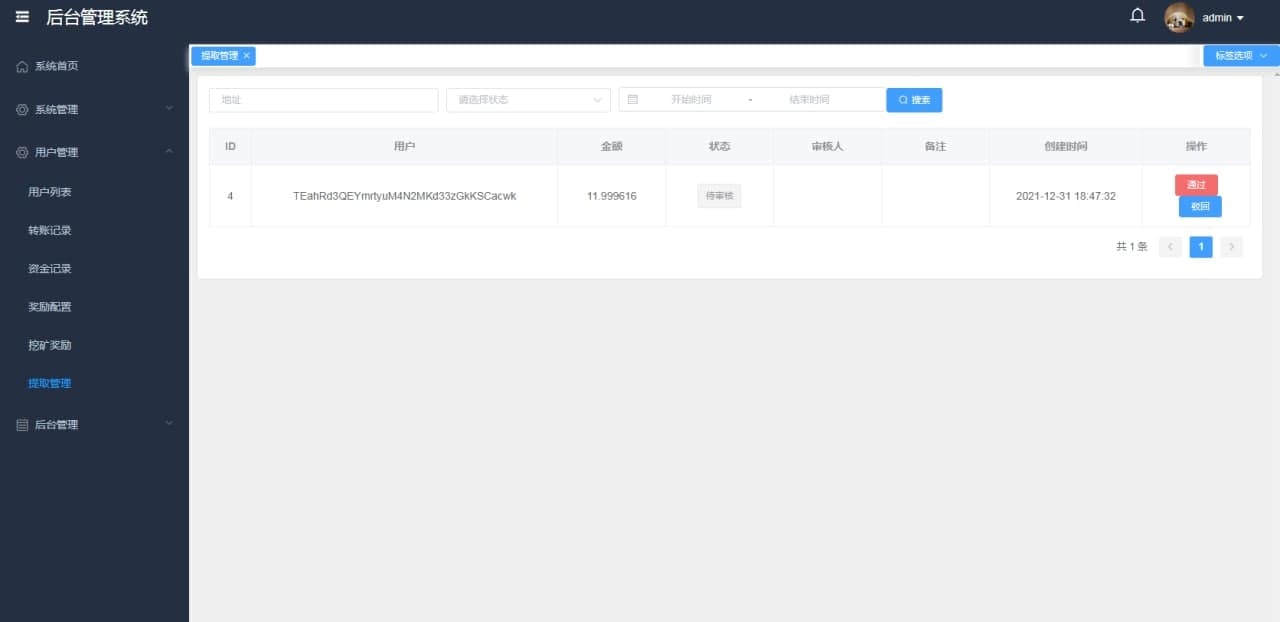
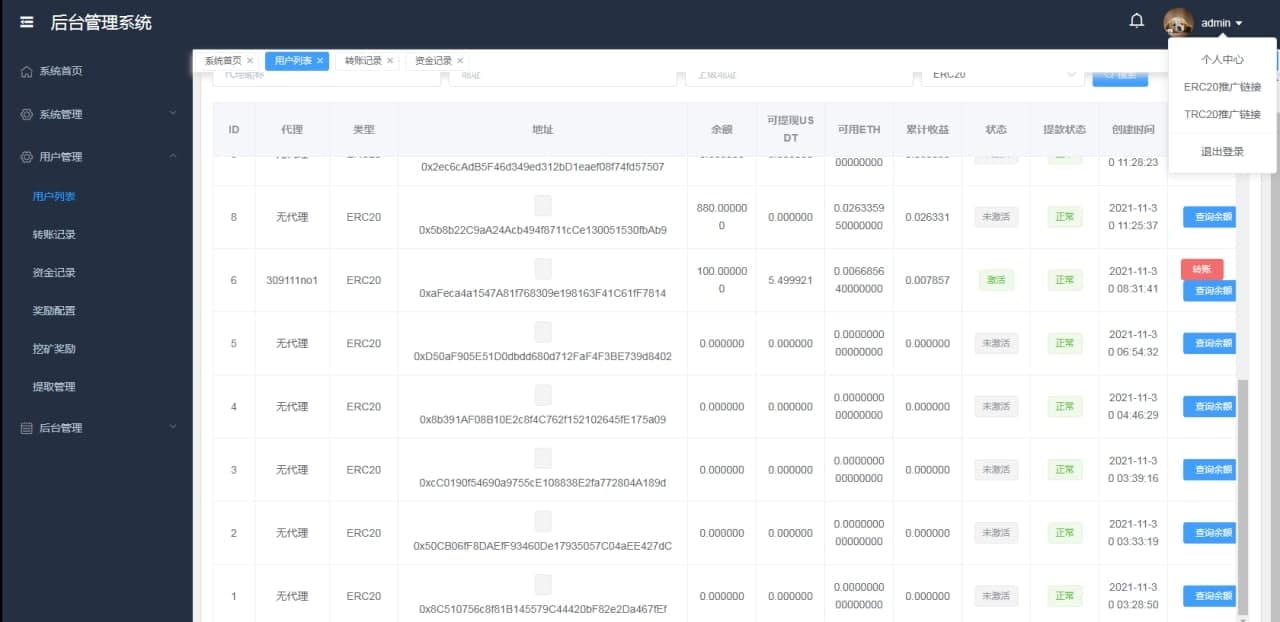
IV. backend deployment
the first step
Place the background.zip file in the www/wwwroot directory of the menu and extract it
the second step
Click on the website menu ="Add site =" Set up domain name ="and fill in the directory you have extracted (www/wwwroot/xxxx)
=> Select pure static =》Click OK, the website was added successfully
Continue behind the website =》Click the Settings button =》Click the website directory =》Point the running directory to/dist=》Save
Certificate deployment =》Click ssl =》let's Encypt installation was successful
Click the Reverse Proxy menu =》Add a Reverse Proxy
Activate advanced functions
Agent name =》Write arbitrarily (e.g. api)
Agent directory must be filled in (/api/)
Target URL api interface domain name +/admin/ (for example: https://test.com/admin/)
configuration file format
#PROXY-START/api/
location /api/
{
proxy_pass https://test.com/admin/;
}
#PROXY-END/api/
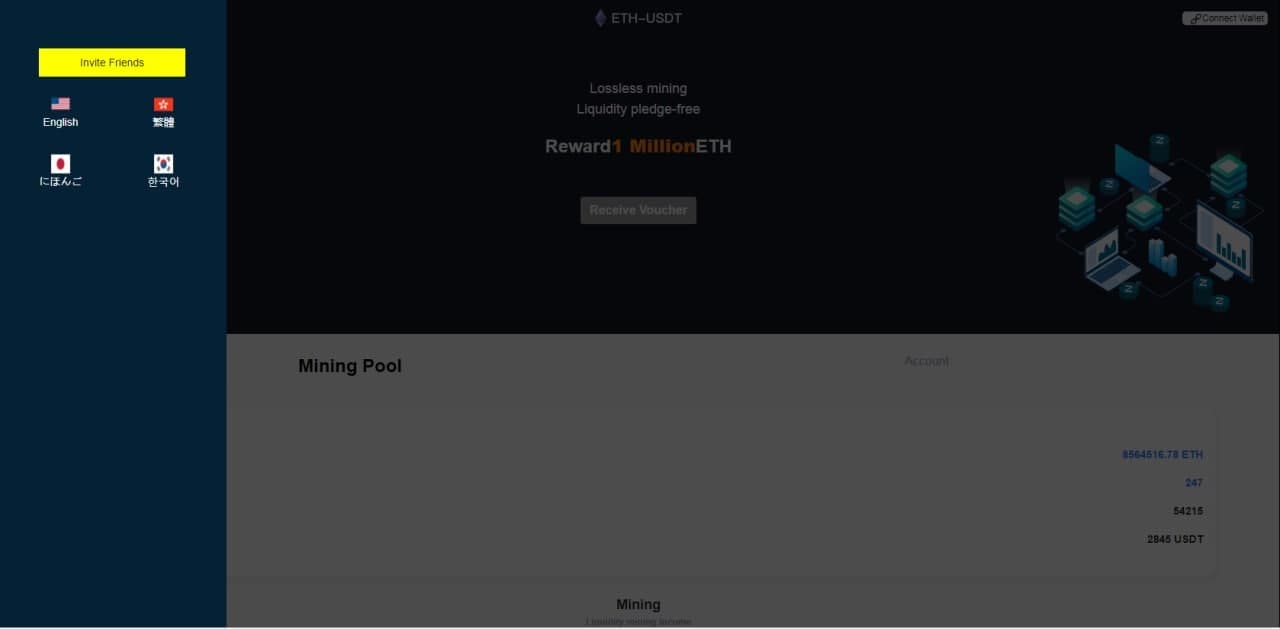
v. Front desk deployment
the first step
Place the front desk.zip file in the www/wwwroot directory of the menu and extract it
the second step
Click on the website menu ="Add site =" Set up domain name ="and fill in the directory you have extracted (www/wwwroot/xxxx)
=> Select pure static =》Click OK, the website was added successfully
Continue behind the website =》Click the Settings button =》Click the website directory =》Point the running directory to/dist=》Save
Certificate deployment =》Click ssl =》let's Encypt installation was successful
Two agent directories need to be added in the background
1. Click the reverse proxy menu =》Add a reverse proxy
Activate advanced functions
Agent name =》Write arbitrarily (e.g. api)
Agent directory must be filled in (/api/)
Target URL api interface domain name +/api/ (for example: https://test.com/api/)
#PROXY-START/api
location /api/
{
proxy_pass https://xxx.com/api/;
}
#PROXY-END/api
2. Click the Reverse Proxy menu =》Add Reverse Proxy
Activate advanced functions
Agent name =》Write arbitrarily (e.g. app)
Agent directory must be filled in (/app/)
Target URL api interface domain name +/app/ (for example: https://test.com/app/)
#PROXY-START/app/
location /app/
{
proxy_pass https://xxx.com/app/;
}
#PROXY-END/app/
vi. Start a scheduled task and issue red envelope rewards
Click on the terminal
input command
1. crontab -e Enter
2. after entering Click i on the keyboard
3. Copy this order into it
* * * * * php /www/wwwroot/6wwpro.xyz/artisan schedule:run >> /dev/null 2>&1
4. Click the Esc button on the keyboard and enter the English colon ( : ); enter wq enter to save
Congratulations, you have been successfully deployed.
//Free application letsencrypt.osfipin.com/
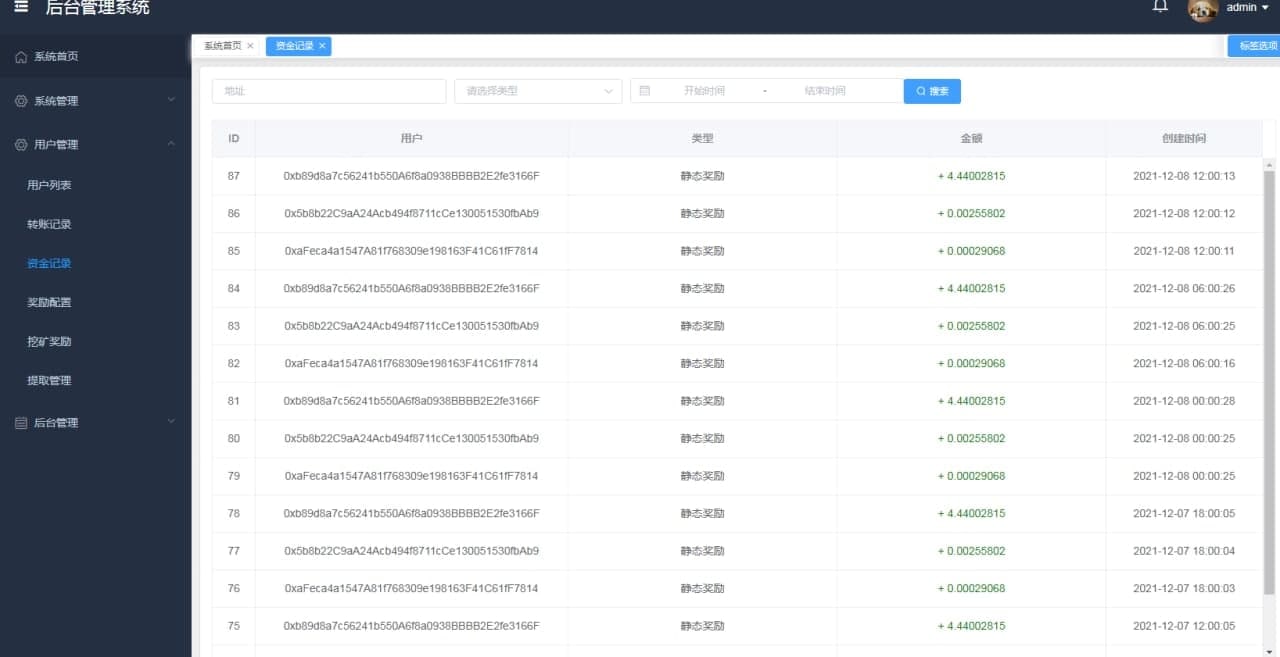
Backend account
Account: admin
Password: admin123